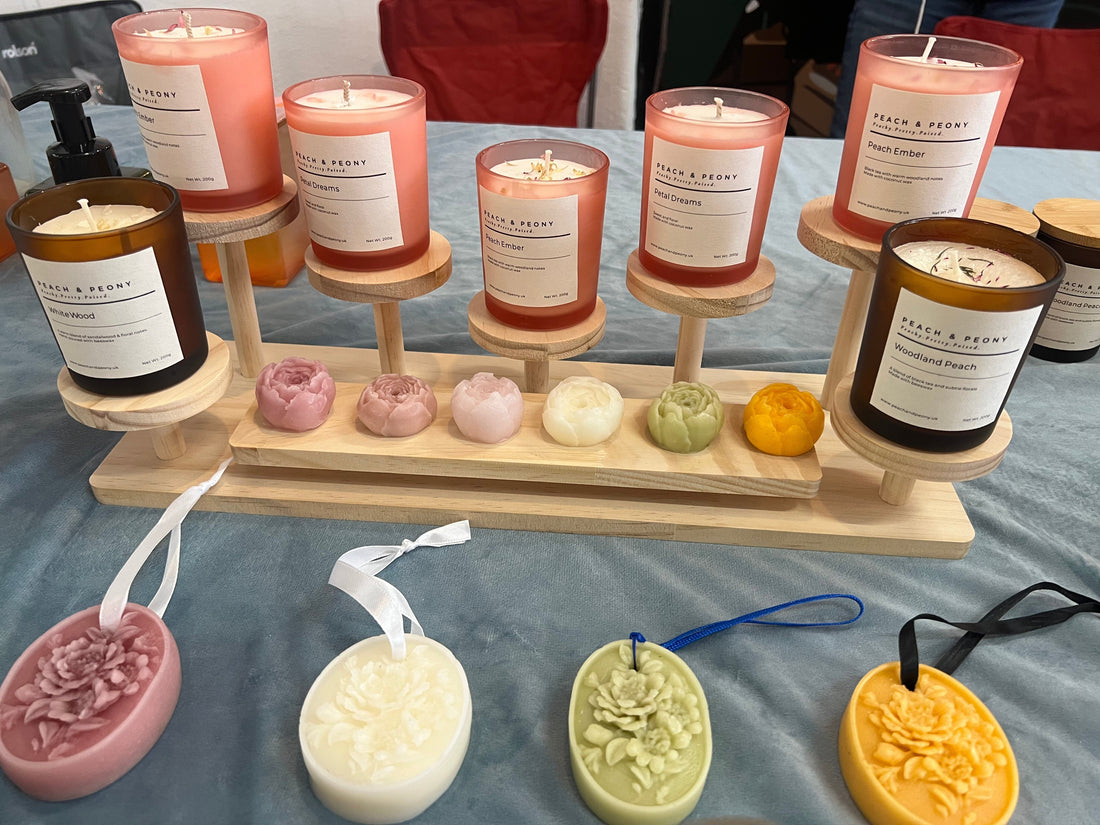
How to Make Candles at Home: A Beginner’s Guide
There’s something truly calming about lighting a candle you’ve made yourself. Whether you're looking for a relaxing craft or thoughtful handmade gifts, candle making is a lovely DIY project to try.
It’s also a brilliant way to spend quality time, whether you're enjoying a peaceful afternoon crafting solo, or having a creative session with friends and family. There’s something special about sharing the process, laughing through the mess, and making something beautiful together.
What You’ll Need
Materials:
• Soy wax, beeswax, or coconut wax (all great beginner-friendly options; beeswax and coconut wax are natural and eco-friendly choices)
• Cotton wicks (recommended for a clean, even burn)
• Containers (glass jars, tins, or vintage teacups)
• Fragrance oil — use unscented wax or the scent you premix
• Dye or natural colourants (such as beetroot, matcha, turmeric)
• Wick stickers or glue dots
• Wick centring tool
Equipment:
• Double boiler or a heatproof bowl and saucepan
• Thermometer
• Stirring spoon or stick
• Pouring jug
• Kitchen stainless steel sieve (to filter wax)
• Scissors
• Hairdryer (optional, for warming jars)
Step-by-Step Candle Making Instructions
1. Prepare Your Containers
Ensure your jars or containers are clean and dry. Stick the wick to the centre bottom using a wick sticker or glue dot. Use a wick holder or chopsticks to keep the wick upright and centred.
Optional: Decorate your jar beforehand with labels or paint. It’s a lovely way to personalise your candle, especially for gifting!
2. Melt the Wax
Using a double boiler or a heatproof bowl over a pot of simmering water, melt the wax gently. Stir occasionally and monitor the temperature.
To ensure your wax is smooth and free of impurities, pour it through a kitchen stainless steel sieve when transferring it to your pouring jug. Using a sieve is a common and safe practice among candle makers to remove any unmelted bits or debris.
Safety tip: Always work in a well-ventilated area. Melting wax and adding fragrance can release fumes, so open a window or use an extractor fan.
3. Add Fragrance and Colour
Once the wax has fully melted, remove it from the heat and let it cool slightly, around 55°C for beeswax or 45°C for coconut wax. Then add your fragrance oil, use unscented wax or the scent you premix beforehand for your perfect custom blend. Stir well for 1–2 minutes to evenly distribute the fragrance.
If you’re also adding dye or natural colourants, add these after mixing in your fragrance oil to ensure the colour spreads evenly.
For a more natural approach, try organic colourants such as:
• Beetroot powder – gives a soft pink hue
• Matcha powder – for a light green tint
• Turmeric – for a warm golden colour
Stir well to distribute evenly.
4. Pour the Wax
Before pouring, warm your jar slightly with a hairdryer or by placing it near a gentle heat source (like a radiator or warm oven, no hotter than 50°C). This helps prevent frosting and creates a smoother surface.
Slowly pour the wax into your containers, leaving about 1 cm at the top. Pouring slowly helps avoid air bubbles.
While the wax is still soft (but not fully liquid), you can gently decorate the top with:
• Dried flower petals (lavender, rose, calendula)
• Dried herbs (like rosemary or chamomile)
• Miniature crystals (make sure they are heat-safe)
Important: Keep decorations away from the wick to ensure safe burning.
5. Let It Set and Cure
Let your candles cool and harden completely at room temperature—this usually takes at least 24 hours.
Trim the wick to about 5–7 mm (¼ inch) before lighting.
Best results: Allow your candle to cure for 2–5 days before burning or gifting. This helps the fragrance settle and gives a better scent throw.
Make It Your Own
Once you’ve learned the basics, have fun personalising your candles by adding dried flowers, herbs, or miniature crystals on top, or experimenting with unique containers like teacups or vintage tins.
Creative Variations to Try
Once you’ve mastered the basics, why not experiment with some creative twists?
• Layered Colours: Pour your wax in stages, allowing each layer to set partially before adding the next colour. This creates beautiful, colourful stripes and patterns inside your candle.
• Multi-Wick Candles: Use multiple cotton wicks in a larger container for an even burn and extra flickering charm. Just be sure to space the wicks evenly and securely to avoid uneven melting.
These variations add a personalised, artistic flair to your candles and make them even more special—perfect for gifts or your own home décor!
Final Thoughts
Making candles at home is a fun and rewarding way to unwind and create thoughtful gifts. Always remember to prioritise safety throughout the process, work in a well-ventilated space, handle hot wax carefully, and never leave burning candles unattended.
With just a few materials and a bit of practice, you’ll be creating beautiful handmade candles you can be proud of.
Light one, relax, and enjoy your handiwork!
